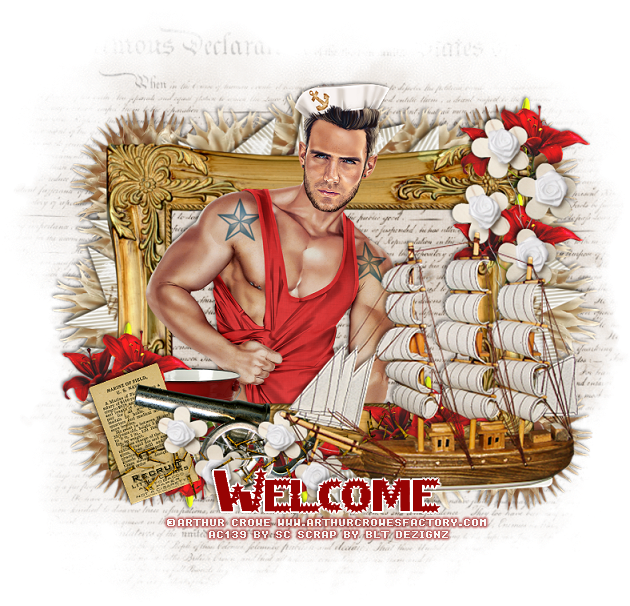
This tut was written for those with a basic knowledge of psp.
I am using the awesome artwork of GiadaC.
You need a license to use this art work. Please do not use without a license.
You can find this art at Digital Art Heaven HERE
Supplies Needed
I used PSPX...but any of them should work.
Drop Shadow of choice
Let's get started
*Remember to add your drop shadow as you go along*
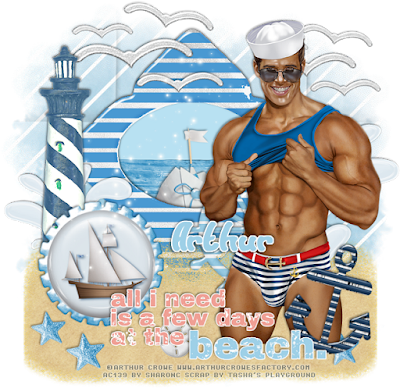
Open your template, hold the shift key and hit the letter d to duplicate,
close the original, delete the credits.
Select layer 1, paste paper 2, invert, delete, and also delete the template layer.
Layers 2 and 3 add noise at 50%.
Layer 5, paste paper 5, invert, delete.
Select layer 6, add a new raster layer, fill with white.
Layer 7 you can leave red or add a new layer and fill with a blue color.
Leave layer 8 red or a color of choice.
Select layer 9, float, defloat, mirror your tube first, then paste your close up tube, invert, delete, select none.
Apply the Xero Filter, Porcelain then Clarity, change the blend mode to screen
or one you prefer, then merge the tube down with layer 9 and apply
the VM Extravaganza- Transmission with the numbers as
24, 0, 10
Layer 10 leave as is and just add your drop shadow.
Layers 11 and 12, you can either delete or add noise to them.
Leave layer 13 as is and just add your drop shadow also.
Layer 14 and 15, just add your drop shadow.
Resize your tube to 85%, paste on the left side, apply the Xero Filter-Clarity to the tube.
Paste the sand below the tube layer, move over some, duplicate and move
to the other side more.
Paste the chair, mirror, resize to 75%, place on the right side.
Resize the kitten to 50%, place on top of the chair.
Resize bear 2 to 60%, paste on the left above the tube layer.
Resize the boom box to 55%, place in front of your tube on the left.
Resize the bubbles to 70%, place by the chair.
Resize the sunblock to 50%, place on the right below the bubbles layer.
Resize the sunglasses to 45%, place where you like them.
Resize the cupcake to 50%, place by the chair.
Resize the soda to 60%, place by the legs of your tube, below the
boom box layer.
Paste fireworks 4 on the bottom layer, just above the background layer,
move to the upper left, duplicate, mirror and adjust on the right.
Resize the umbrella to 95%, paste below the colored layer of the close up tube, then free rotate to the right at 15.
Being on the sand layer, resize the starfish to 50%, duplicate and place them
where you would like.
Paste sparkle 1 below the tube layer.
Add any other elements that you would like.
Once happy, close off your background if you used one, merge visible
Resize first, then add copyright and name.
That's it
Hope you enjoyed doing my tut.